docker环境搭建nexus私有maven私服
原文链接https://www.aiprose.com/blog/121
估计很多人会有自己封装的一些工具类,今天怎么教大家怎么在docker环境下搭建maven私服,我这里用的版本是nexus2,虽然nexus3更新,并且支持docker镜像的存储,不过这个我们用不到,docker镜像我们都是放阿里云的,免费速度还快。
首先你的安装docker吧,这个这里就不重复造轮子了,百度一大堆,还有本人一直使用的是gradle环境,文中maven环境都是百度别人的。
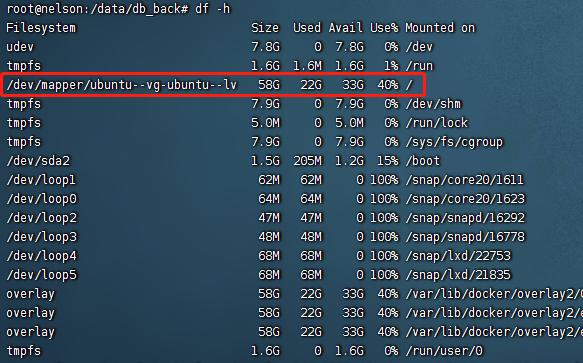
1.创建目录
我们首先要创建一个目录,用来挂载nexus存放的数据
mkdir /opt/nexus-work && chown -R 200 /opt/nexus-work2.运行镜像
这里讲下oss和pro的区别,pro是要收费的 ,8999是我自己指定的端口,你随意。
(1)普通的docker运行
docker run -d -p 8999:8081 -v /opt/nexus-work:/sonatype-work --name nexus sonatype/nexus:oss(2)docker-compose运行,首先你也得安装docker-compose吧
创建nexus-docker.yml 名字随便,不要重复就行
version: '3'
services:
    nexus2:
      image: 'sonatype/nexus:oss'
      restart: always
      ports:
        - '8999:8081'
      privileged: true
      volumes:
        - /opt/nexus-work:/sonatype-work
然后运行镜像后台运行
docker-compose -f nexus-docker.yml up -d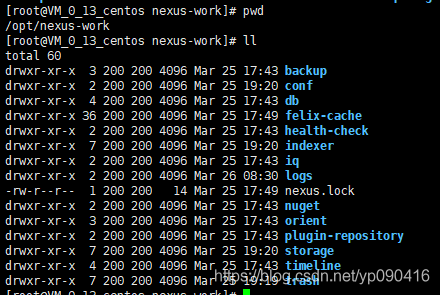
3.配置NGINX
一般有域名的时候,我们会用nginx代理一下,不然带着端口访问很low,当然不需要的直接跳过这一步
  server {
        listen       80;
        server_name  maven.aiprose.com;
        include /etc/nginx/default.d/*.conf;
        location / {
                proxy_set_header Host $host;
                proxy_set_header X-Real-IP $remote_addr;
                proxy_set_header X-Forwarded-For $proxy_add_x_forwarded_for;
                proxy_pass http://localhost:8999;
        }
    }
4.测试访问
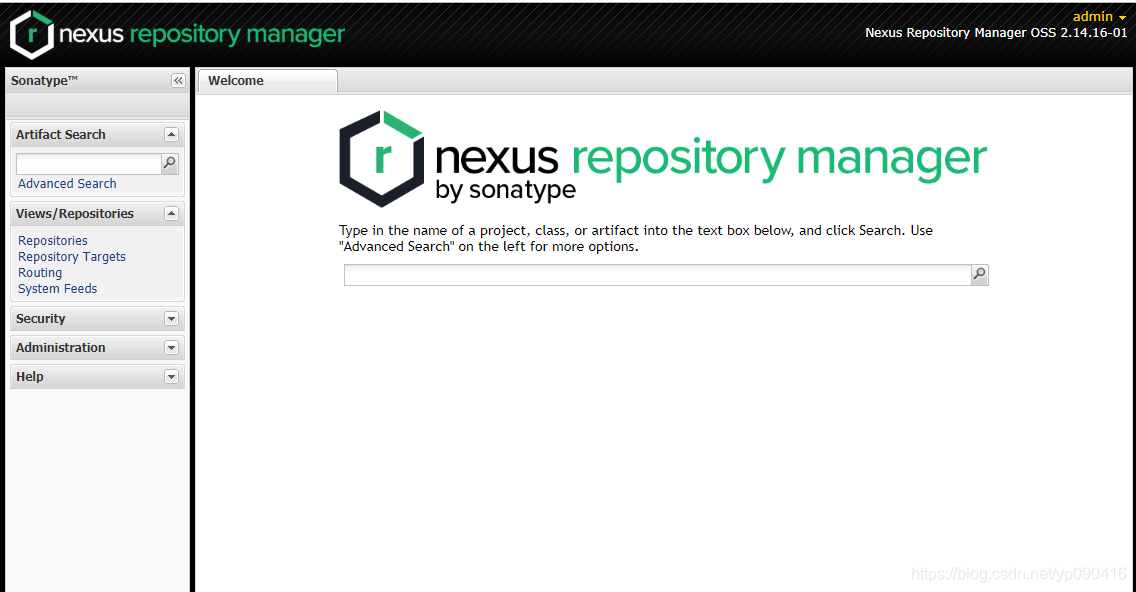
浏览器访问域名,比如我的 http://maven.aiprose.com/nexus ,你如果配置了nginx,那就换一下域名,如果没有配置nginx,那就 http://你的ip:端口/nexus,即可
默认用户名和密码是admin admin123,建议登录后自行修改
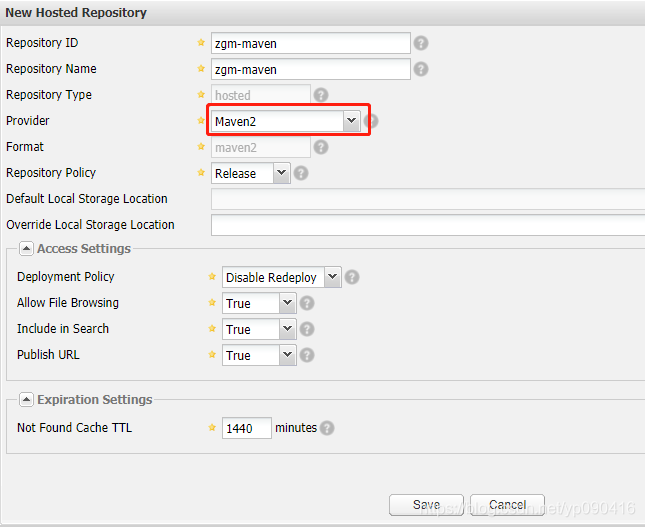
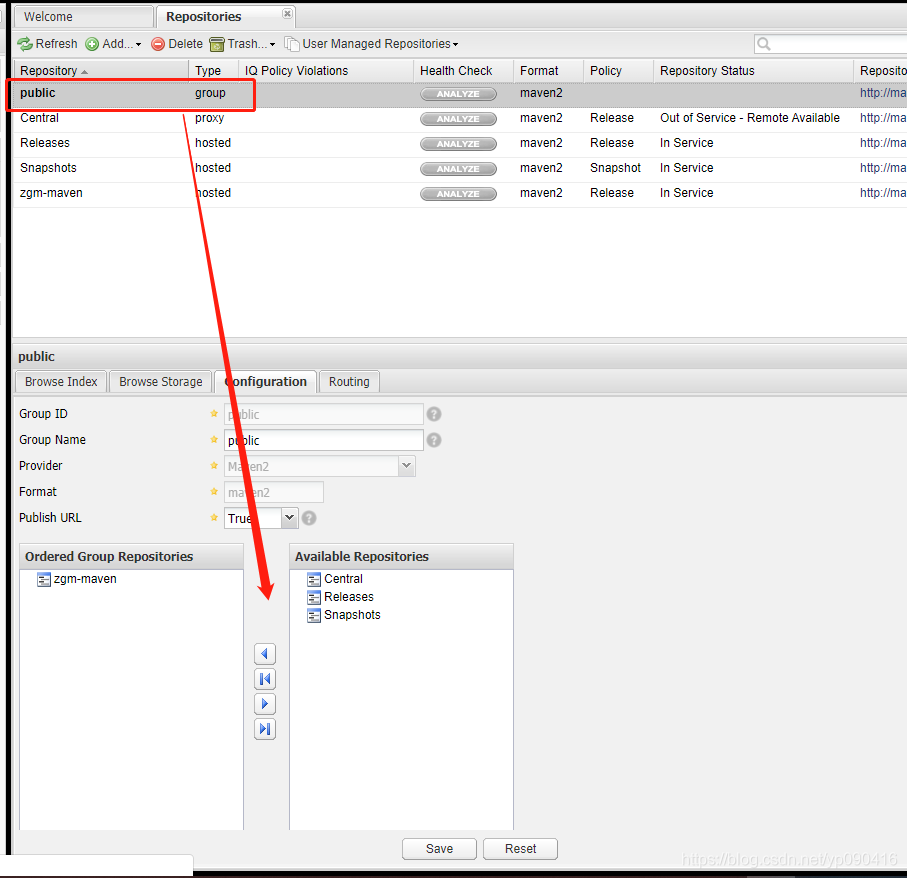
新建自己的仓库,注意红色圈中的地方
选择public_**,type是group的,我这里是因为我改了名字,在下面配置,选择其他的,全部添加到这个group中,包括自己新建的仓库。
5.上传jar包
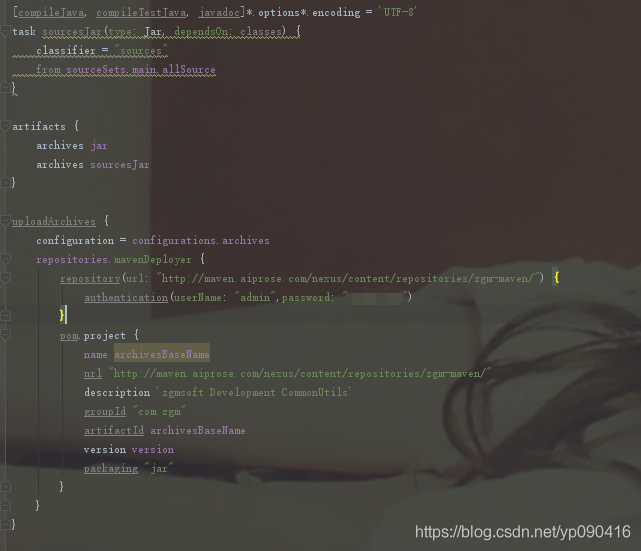
(1)gradle环境
[compileJava, compileTestJava, javadoc]*.options*.encoding = 'UTF-8'
task sourcesJar(type: Jar, dependsOn: classes) {
    classifier = "sources"
    from sourceSets.main.allSource
}

artifacts {
    archives jar
    archives sourcesJar
}

uploadArchives {
    configuration = configurations.archives
    repositories.mavenDeployer {
        repository(url: "http://maven.aiprose.com/nexus/content/repositories/zgm-maven/") {
            authentication(userName: "admin",password: "你的密码")
        }
        pom.project {
            name archivesBaseName
            url "http://maven.aiprose.com/nexus/content/repositories/zgm-maven/"
            description 'zgmsoft Development CommonUtils'
            groupId "com.zgm"
            artifactId archivesBaseName
            version version
            packaging "jar"
        }
    }
}
(2)maven环境
配置 maven settings.xml
  maven-releases
  admin
  你的密码
配置项目的 pom.xml
 <distributionManagement>
        <repository>
            <!-- 这里的id需要和settings.xml中的server的id一致 -->
            <id>maven-releases</id>
            <name>maven-releases</name>
            <url>http://ip:port/**</url>
        </repository>
    </distributionManagement>
    <build>
        <plugins>
            <!-- 要将源码放上去,需要加入这个插件 -->
            <plugin>
                <artifactId>maven-source-plugin</artifactId>
                <version>2.4</version>
                <configuration>
                    <attach>true</attach>
                </configuration>
                <executions>
                    <execution>
                        <phase>compile</phase>
                        <goals>
                            <goal>jar</goal>
                        </goals>
                    </execution>
                </executions>
            </plugin>
        </plugins>
    </build>
6.使用
在你得项目中增加maven仓库的地址,然后增加你自己的依赖包,就可以下载了。
gradle环境
maven { url "http://maven.aiprose.com/nexus/content/groups/public/" }maven环境
<repositories>
    <repository>
        <id>nexus</id>
        <name>Nexus Repository</name>
        <url>http://maven.aiprose.com/nexus/content/groups/public/</url>
    </repository>
</repositories>

